May 16, 2018
KeelShield Installation Instructions
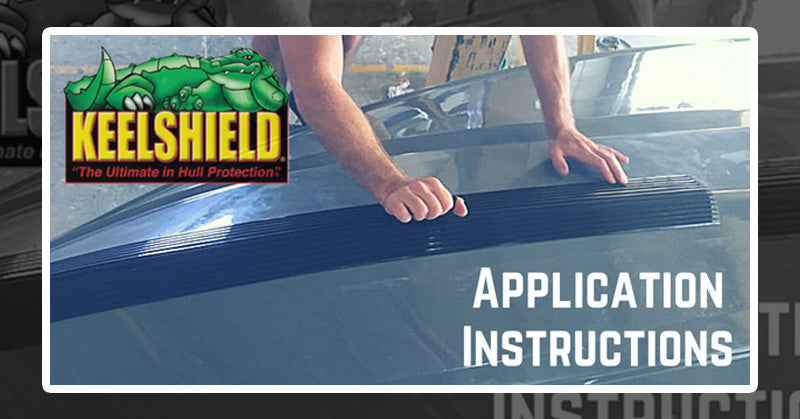
KeelShield Application Instructions
Please Note: KeelShield will adhere to crafts made of fiberglass, urethane, treated wood and all metals. (Anti-fouling paint must be removed before installation.) It will not work on pontoon boats, boats whose trailers have weight bearing rollers, bunks or pads that the KeelShield will rest on or will come in contact with when the boat is launched and loaded. It will not work for Boats or Personal Watercraft that pull up on a Jet Dock and there are many model of Personal Watercraft it will not work on see PWC section below. It will not work on certain models of Alumacraft, Lund, G3 Angler Series, Egret and Crestliner boats. It will not work if the leading edge is installed below the resting waterline. Please visit our Suggested Boat Compatibility List or call if you have questions about your application – if you decide to install the product when we state it will not work you will not have any warranty coverage.Needed for installation: Isopropyl alcohol, a good supply of paper towels, latex glove / hand protection and a minimum temperature of 70°F. Also helpful: A friend for an extra set of hands, a wax pen or crayon and painters tape or masking tape. We also recommend sealing the edges of your KeelShield after you install it with a marine grade sealant that is for below the waterline. If your boat is docked and in the water 24/7 you must use a sealant that is for below the waterline. Where do I start? To begin with, your boat hull and KeelShield needs to be 70° F or warmer, if not you will have adhesion problems in the future. Your KeelShield may be placed over existing damage, as long as there are no gouges or scratches more than ¼” deep and your keel is not leaking. If you have extensive damage or your keel is leaking you will need to make some kind of repair before you install your KeelShield. If you make repairs yourself, be sure to follow the manufacturer’s instructions on curing before you install your KeelShield.
- Take your KeelShield out of the package and lay it flat. Find your resting waterline. The leading edge of your KeelShield MUST start 6”- 9” above your resting waterline. Once you have found this point, mark it with a grease pen, pencil or crayon. (This is where a friend will come in handy) Hold or tape your KeelShield to your hull, with the leading edge placed at the point where you marked, and trace around your KeelShield with a wax pen, pencil or crayon. Take some painters tape or masking tape and tape this area off. This is the area you will be preparing for the adhesive.

Personal Watercraft: Your KeelShield needs to begin ¼” below your towing hook on the bow and run the entire length of your hull, ending ¼” in front of your intake grate. Your KeelShield must begin above the resting waterline. If you do not run the length of your hull you will have adhesive problems. You must seal the edges with a marine sealant after installation. If your hull is not smooth – no steps, strakes or chines where the KeelShield will be installed it will not work. To see if KeelShield may work for your PWC - visit our Suggested Boat Compatibility List.
- Preparing the part of your hull you have traced around is the most important step in installing your KeelShield. Do not use Acetone, Lacquer Thinner or any other cleaner or solvent to clean for your KeelShield installation ALL of these leave a film when they evaporate that will interfere with the adhesive and cause failure. Isopropyl alcohol (found at your grocery store or pharmacy) is the only cleaner that when it evaporates does not leave a film. Take your isopropyl alcohol and some paper towels and wipe the area you have traced/taped around thoroughly, do this until your paper towel does not remove dirt and comes away clean. Take the scuff pad that is provided and gently scuff the area you have traced around. If you have loose paint in this area you need to remove the loose paint with fine grit sand paper. You do not have to apply strong pressure; all you want to do is remove the gloss from this area. Now once again take your isopropyl alcohol and do a thorough wash of this area just as you did before the scuffing.
* Important * Your hull is now ready for your KeelShield. DO NOT touch your hull with your hands. You will leave oils on your hull that will interfere with the 3M adhesive system.
For a moment, look at your KeelShield. You will notice that 7th rise (ridge) is the center of the product. It may help you on the next step to take your wax pen, crayon or a piece of tape and mark the 7th rise.

- (If you taped off the area remove the tape now.) Take your KeelShield and peel back about 1 foot of the middle strip of the release liner on the back of the product. This will expose the 3M adhesive. DON’T touch the adhesive with your hands or you will leave oil on it and will not stick! Carefully, line the center of your KeelShield up with the center of your hull and gently press on with your hand. (You want to be sure that you line up with the center of your boat since once the adhesive touches your hull it cannot be moved.) Once you have pressed that first foot on, pull about 1 to 2 feet of the middle release liner off and continue to gently press on with your hand until you have the entire center length of your KeelShield attached to your hull.
- Now that you have the middle of your KeelShield attached to the center of your hull, let’s finish the installation. Do one side at a time. Pick one side and pull off about 1 foot of the release liner, exposing the 3M adhesive. Take your hand and start in the center and roll your hand to the outer edge, pressing your KeelShield on. By starting in the middle where the KeelShield is already attached, you are removing air bubbles at the same time you are adhering it to your hull. Once you have the first foot done, continue with the same side pulling off 1 to 2 feet of the release liner as you press from the middle to the outer edge. Once you complete one side go ahead and do the same process for the other side. Some of you may run into chines, steps or strakes that your KeelShield needs to go over. If you can’t get your KeelShield to mold around them with your hand you can use the handle of a screwdriver. Take the handle and use it to apply pressure so KeelShield molds around the chines, steps or strakes.
- Now that your KeelShield is attached to your hull, take the squeegee applicator that is provided and use it to apply pressure in the grooves and also to the rises. You can also use a rolling pin or laminate roller to apply pressure to the ridges. Pay special attention to all edges. This adhesive system is pressure sensitive so the key for the best bond is pressure. Now that you are done with the applicator, take your isopropyl alcohol and wipe all of the marks from your wax pen, pencil or crayon off of your hull and your KeelShield. We recommend that you now apply a thin bead of marine grade sealant (even silicone will work) to the edges of your KeelShield sealing it to your hull.
- There is NO down time and you can use your boat as soon as you complete the installation process. But, if you choose to follow our recommendation and seal the edges with a marine grade sealant, you will need to follow the instructions found on the sealant for cure time before you use your boat.